Driving
The EV3 has special commands for controlling the two large motors for moving the robot around.
Use the buttons to drive
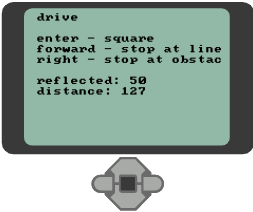
First we display a small user guide on the EV3 display.
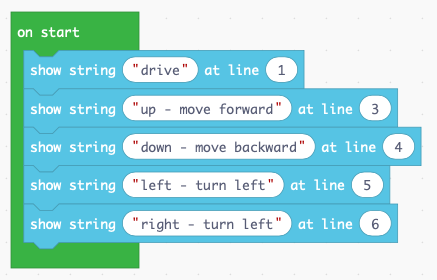
At this point we can test the display and the presence of the two large motors.
Move forward and backward
The robot moves forward if both motors turn forward (50%) at the same speed. The robot moves backward if both motors turn backward (-50%) together.

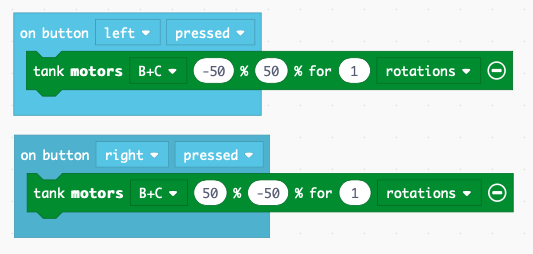
Turn left and right
The robot turns left if
- motor B goes backwards (-50%)
- motor C goes forward (50%)
The robot turns right if
- motor B goes forward (50%)
- motor C goes backward (-50%)
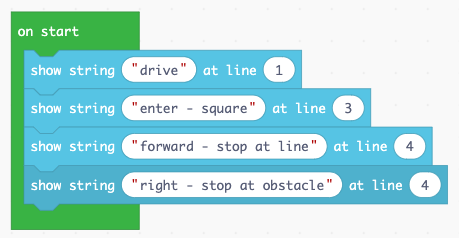
Display a start screen
It’s always good practice to display on the screen what the robot is doing. We place that code inside the on start block.
This robot can execute 3 behaviors:
- drive a square
- advance till it reaches a dark line or the border of the table
- advance till the distance sensor detects a nearby object
Display the sensor values
It is useful to display the measured sensor values on the screen. We place this code into the forever block, as we want to do these measurements continously.
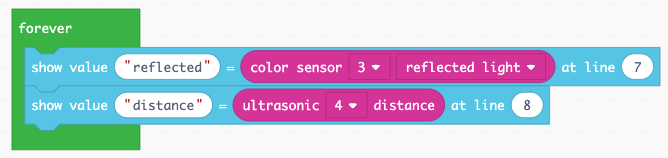
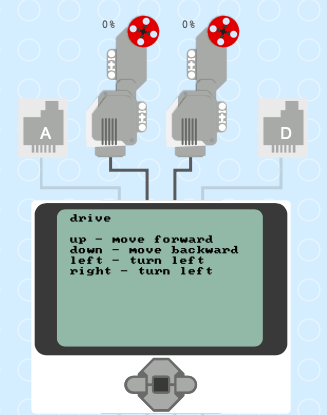
The result on the screen will be this
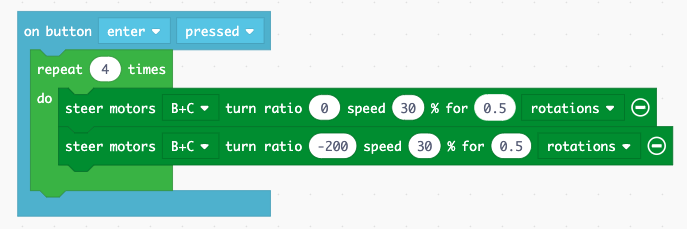
Drive along a square
We repeat 4 times inside a loop a straight segment and a 90-degrees turning segment. The robot will execute a square trajectory.
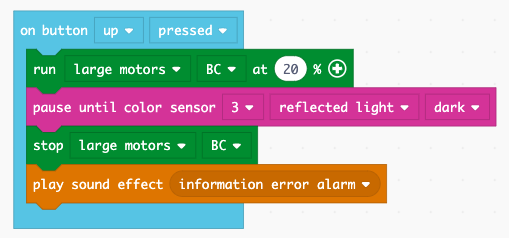
Stop at a line
We program the light sensor to make the robot stop when the light intensity goes down.
Stop at an obstacle
We program the ultrasonic distance sensor to stop the robot when an object is near.
You can download this file and import it into MakeCode.